3rd sanctuary entrance: tech demo
A downloadable tech demo for Windows and macOS
Important
BRIGHT/FLASHING LIGHTS - there are no explicit flashes, but there are lots of bright moving objects.
Controls - arrow keys to move, escape to instantly return to menu.
Besides the credits listed in game, thanks to my close friends for help with testing and ideas during development.
Scroll aaaall the way down for downloads.
What is this and where the idea came from?
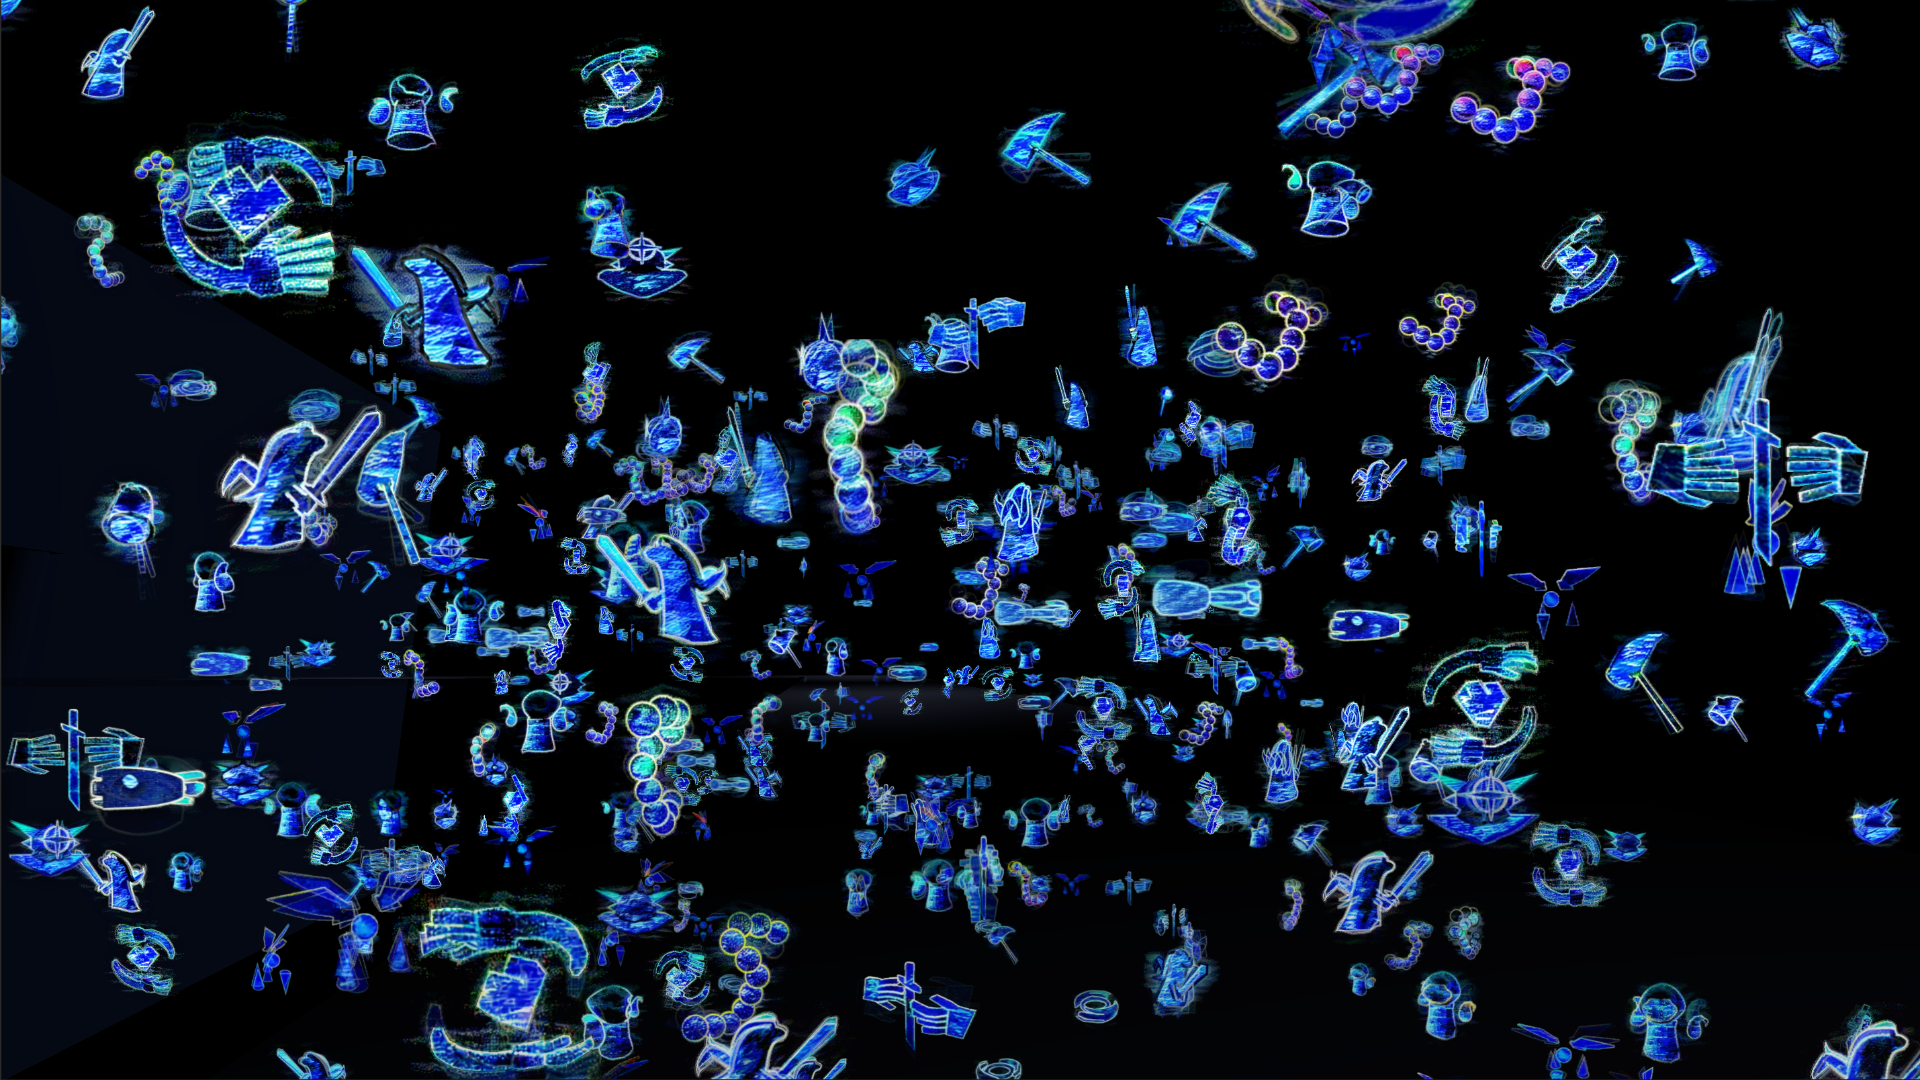
This is a small 3D godot map made to showcase my attempt at realizing a particular visual aesthetic idea inspired by dreams and visual coherency failures of early image-generation AI models. The goal here was to make 3D assets that feel like they are 'imagined' and don't have a solid physical shape, while still resembling the object they are supposed to be. This is why I recreated a Deltarune location as a test: "dark worlds" from the game are described as being dreamlike and are implied to be imaginary in some form. Credits to my close friend who had this idea.
Before I move on to the next section: two particular inspirations I can mention are DALLE mini image generator from 2022, which outputted a 3x3 grid of vaguely object-looking things, and all the "AI fever dream" videos of 2023-2024. It really was all fun and games when AI couldn't fool anyone into thinking it's real.
Why and how is AI used?
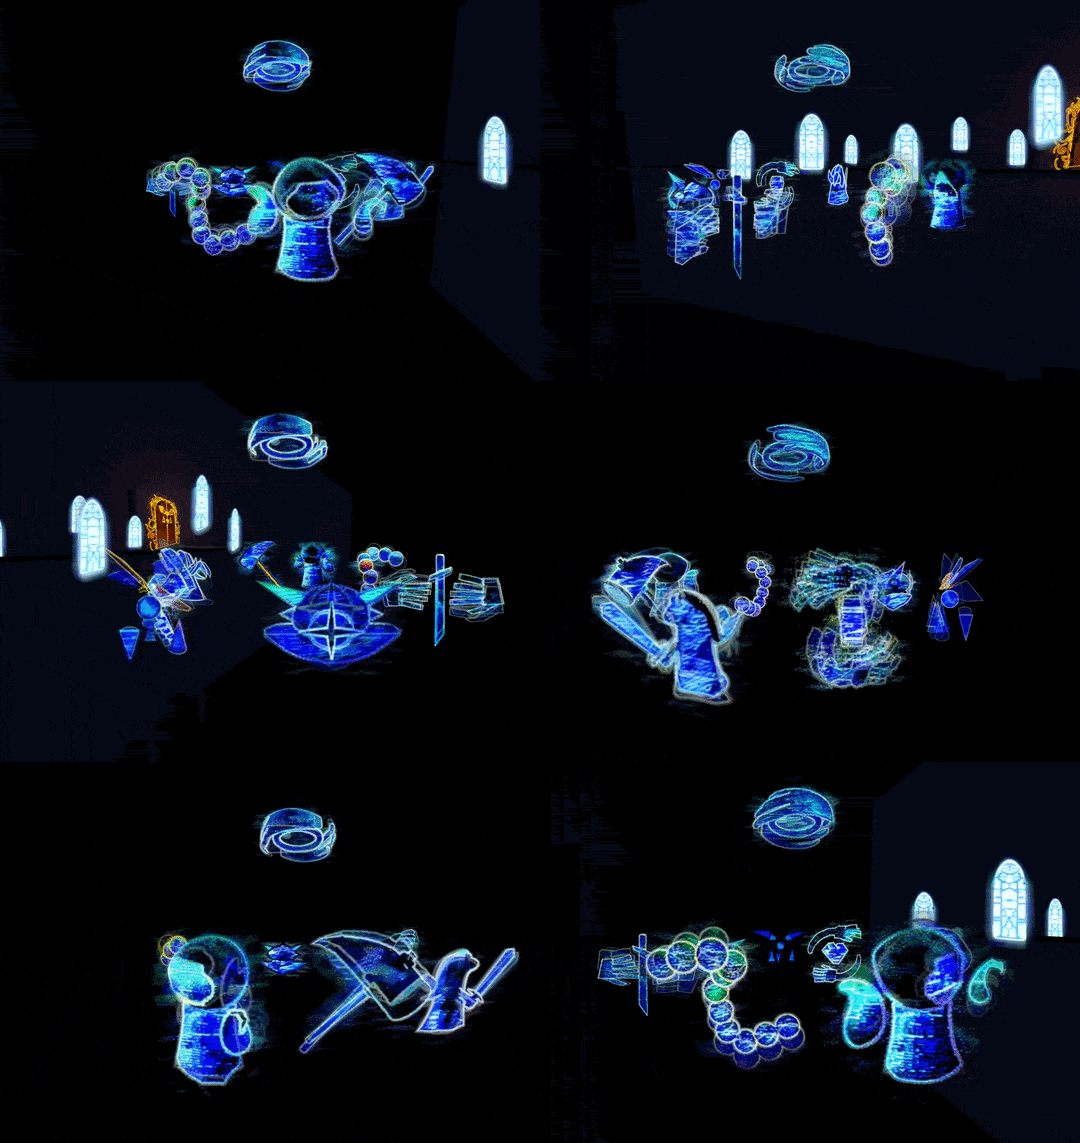
The assets you see on the screenshots or in game are made by combining a reference image with an actual 3D model using a heavily conditioned AI image generator I run locally. I am ready to argue that AI use in this case is reasonable. The main stylistic idea of the project was heavily inspired by early diffusion models. Also, finding an actual human artist who is ready to produce 150 geometrically consistent drawings of the same object is probably going to be ....troublesome.
Other than that, my friend's opus 5 was used to make the object shader material. I am not a programmer and I don't have a spare month to learn how to code shaders.
If you want to know in detail how everything was done, read the next section.
Technical implementation details
1) Assets (The prophecy panels, the door, the windows and the tree)
To create the custom assets for this demo a reference image, a 3D model and a generative AI model are used. The example I am going to be operating on is 'the prince' prophecy panel, so this is what we are starting with:
 < reference image
 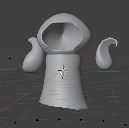 < reference 3D model
As you can see, the reference image isn't the prince at all. In fact, this same reference image was used for all the prophecy panels. I'll explain why a bit later.
To combine these references and actually run the diffusion model, I am using an application called ComfyUI. It is a graphical interface and an API for running and customizing AI models and image/video generation processes, which can be best described as a professional AI slop generation tool. The app's interface is node-based, and the setup I am using to generate the assets looks something like this:
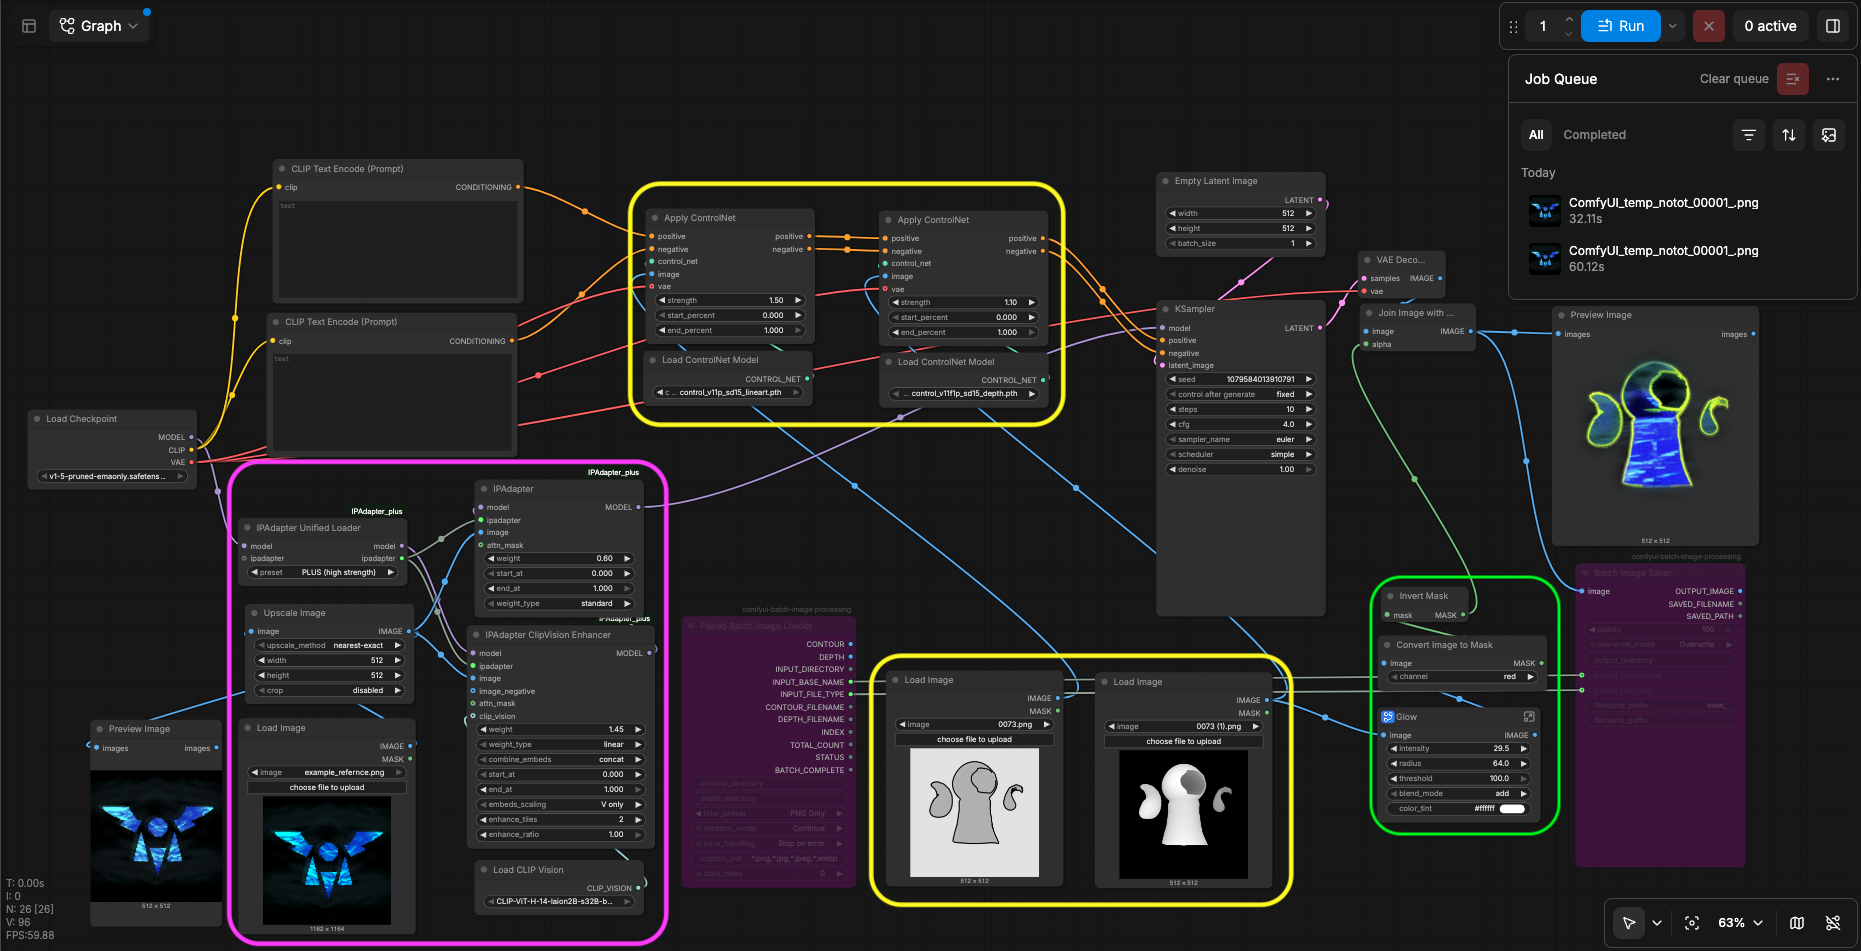
The first (leftmost) node called 'Load checkpoint' is where the diffusion model itself is loaded. In this case for all the assets I used Stable Diffusion 1.5, which was released in 2022. The fact that it is quite primitive is only beneficial for the style I am going for and also allows me to literally run the model on my laptop with reasonable generation times.
Then, the block highlighted in purple is what contains the first two conditioning tools. They are called Clipvison and IPAdapter, and both are actually just smaller machine learning models augmenting the main one. What clipvision does is translating the stylistic and compositional elements of the reference image into vector matrices - mathematical representations of these concepts. The ipadapter then passes down these matrices to the main model, effectively providing it with information on what the image contains. What is important to mention here is that these tools only give the model information on the style and composition, not shape of the object in the reference image. This is why the reference can be anything as long as it has the desired overall style. (Do not take my word for granted, I am not an AI researcher and found this all out in process of working on the project. Stuff I am saying here might be wildly inaccurate.)
The shape is what the block highlighted in yellow responsible for, and it is what the actual 3D model is made for. Two nodes in the upper yellow block are loading points for two more conditioning tools, which are both also AI models... They are called ControlNet lineart and ControlNet depth, and they are responsible for forcing the main model to follow a geometrical reference. In my case, two references - contour and depth maps. Two blue lines going to the lower yellow block are image connections, through which contour and depth maps taken from the 3D model are loaded into the controlnets. For a single complete prophecy panel 150 depth and 150 contour map images were used, 1 depth and 1 contour map for each frame. To create these maps I needed a tool that allows you to automatically render a 3D scene from dozens of viewpoints equally spaced around a sphere. It turned out the perfect tool for this already existed - AngleCraft blender add-on was made specifically for loading 3D models into AI training datasets, exactly in a way I just described.
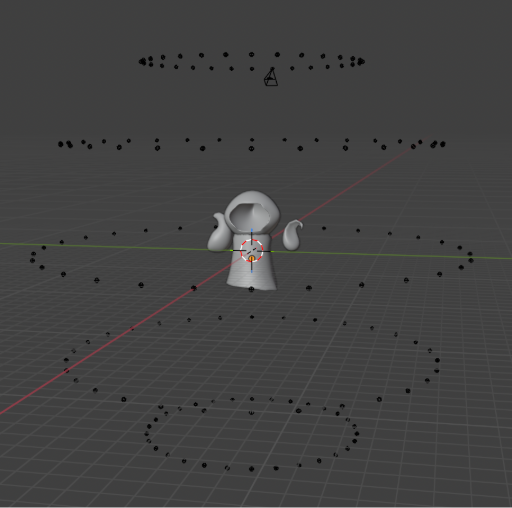
The camera follows a specific path and the generated images are all numbered in order, so the frame's index and position are connected, which can be used for proper rendering in the game engine if the sequence is preserved.
The last block highlighted in green is simply a slightly customizable mask used to remove background.
Two not highlighted nodes in the upper-left corner are text prompt spaces. I usually leave them blank since the prompt barely has any effect on the results.
The two nodes colored in red are disabled for this example, they are used to render all 150 frames for an object while changing depth and contour map references for each frame. The resulting generated images are ordered in the same way as their references were, and this how the geometry of the model is preserved.
And finally, the unhighlighted nodes on the right are result preview, decoding and some generation settings.
2) In-engine implementation
The actual in engine implementation has changed several times during development, but the basic idea stayed the same. Out of the 150 generated images, one is shown to you depending on from where you are looking. Specifically, the image you see is a viewpoint picked from the 'camera sphere' I showed earlier closest to the viewpoint you are actually looking at the object from. The first iteration of the script did exactly that without any additional logic - simply picked a properly indexed image from a provided folder. It seemed fine, until it turned out that 1,5GB VRAM usage does not come from 1000 panel copies I spawned. It comes from 9 unique panels simply being present in the scene.
After that, about a week of optimization hell followed. This is the part where I heavily used my friend's AI for code and where I barely understand what is going on anymore. Eventually, I managed to bring down memory usage to about 18 MB per 150 frame object. Blending between frames was also introduced to smoothen view transition, and the script is now actually partially separated into a shader material. The frames used are also not separate images anymore, but texture arrays which look something like this:
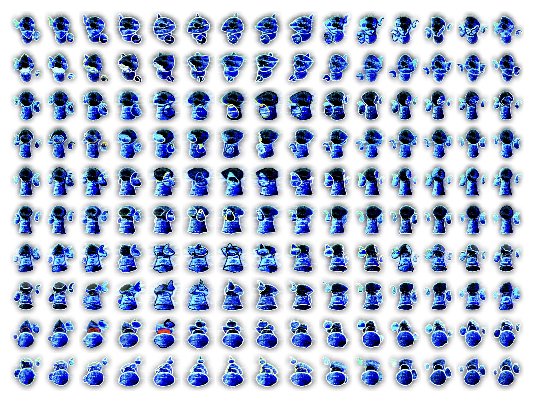
Each frame is actually first cut out of its original 512x512 image with the precise displacement of the cutout relative to the image's center saved. The image is than downscaled and stretched to fit into a uniform 288x320 texture array cell. All of this preprocessing is done on a set of images with a python script, which produces the texture array and a json file which contains displacement data. The json is then used in the engine to restore the frame's original position and shape on a 512x512 empty texture canvas.
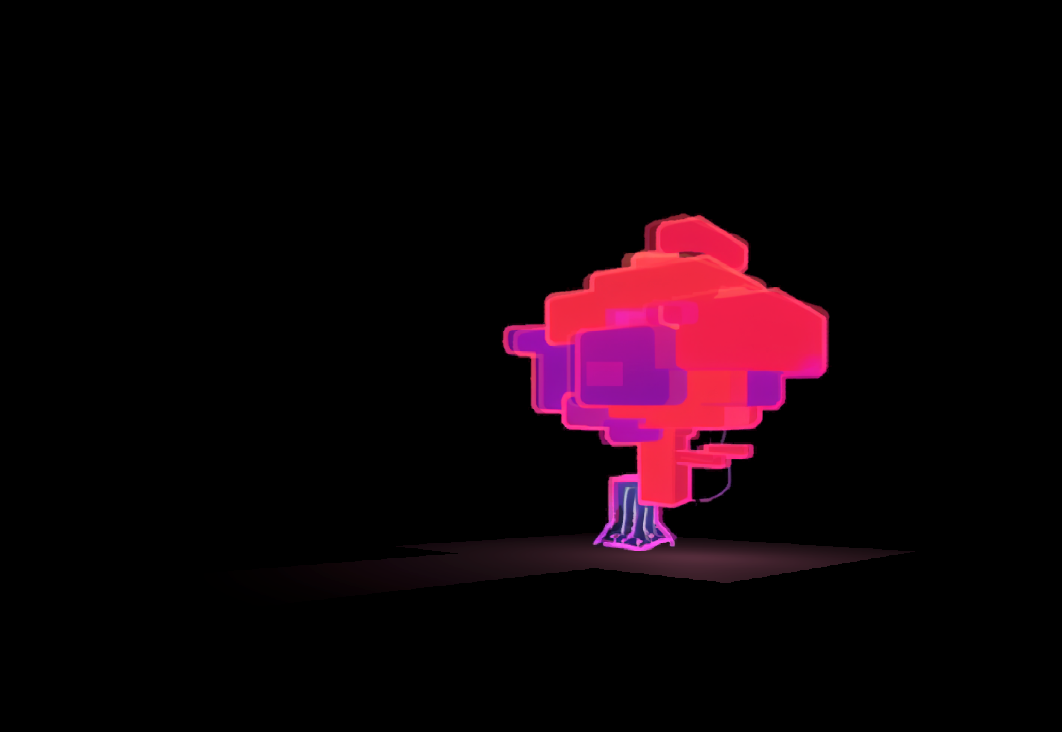
As a result all of the prophecy panels are now mesh instances that use a texture array, a json file, a script and a shader material for rendering. Some of the objects like the door and the tree still use older versions of the script with less optimization, since these versions are easier to work with. These objects are actually sprite 3Ds.
3) Door animation
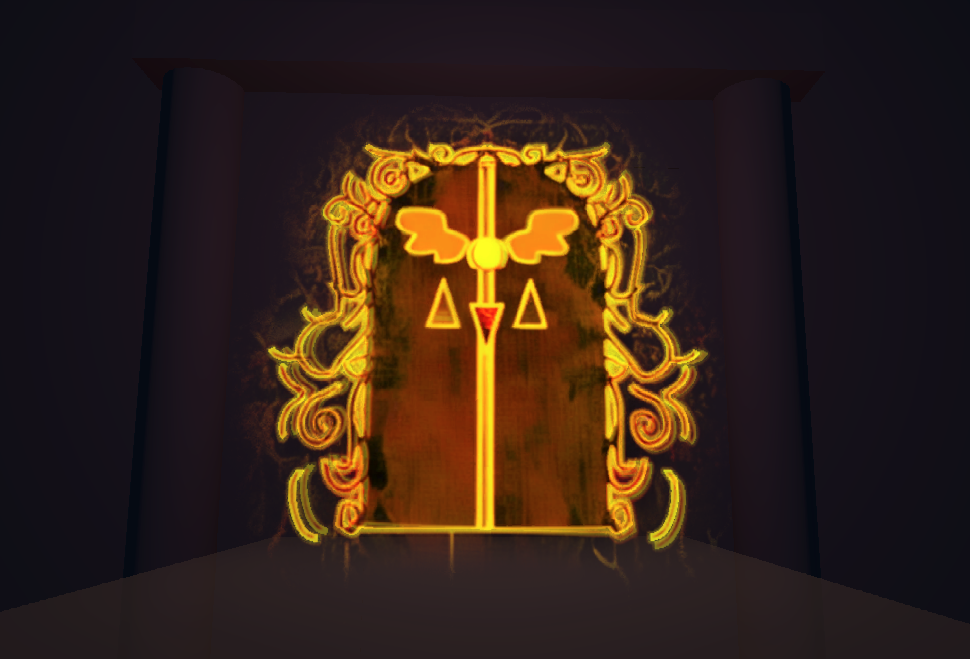
You have to see it in game to know what I am talking about, but I think it deserves a special mention. It was actually made from processed intermediate steps extracted during the process of generating the door's image. So each stage of the door's decomposition is representative of how it was generated step by step in a diffusion model, which I think is an interesting idea to play with in the future.
Further plans
No further plans for this yet. I may compile a set of instructions on how to recreate this if someone explicitly asks me too, but for now I am too exhausted by this project to do anything else. I have vague plans on what to do with this far in the future, but at the moment I can only hope that you find something interesting to do with this yourselves.
Download
Install instructions
Please report any technical issues you are having with the demo or with downloads in the comments. The scope of testing done at this point is my mac and my friend's one windows pc, so I am expecting some problems.
Other than that, both files are simply fully integrated executables, though the windows one is archived to speed up download.
Leave a comment
Log in with itch.io to leave a comment.